Custom Laundry Bag Project

What's one thing most college students seem to have a lot of? Dirty laundry! Help them keep all those growing piles under control (and easy to transport) with this simple-to-sew laundry bag! Use the optional swivel hook to keep keys and coins organized. The D-rings allow the straps to adjust to just the right size or can be used to hang the bag from a hook.
Supplies:
- 1-1/2 YD stripe denim
- 3/4 YD solid denim
- ½ YD cotton batting
- ¼ YD lightweight fusible interfacing
- 8” x 10” each of paper backed fusible web and tear-away stabilizer
- DRITZ 3/8” grommets and hand tool (8)
- DRITZ 1-1/4” D-rings (3)
- DRITZ 1” swivel hook (optional)
- DRITZ 9/32” cable cord (2 YD)
- DRITZ 1-1/4” cotton belting (1-1/4 YD)
- OMNIGRID 45mm Rotary cutter
- OMNIGRID 18” x 24” Cutting mat
- OMNIGRID Ruler
- DRITZ Ezy-Hem® Gauge
- DRITZ Fray Check™ or Liquid Stitch™ Glue
- DRITZ Bodkin
- Sewing machine and contrasting thread
- Serger (optional)
- Iron and pressing surface
- Hammer
- Basic sewing supplies
Other notes: ½” seam allowances, unless other is indicated.

1. Cut the following pieces:
- Stripe denim – 48” x 23-1/2” piece for top section of bag
- Solid denim
- 2 – 16” circles for bag bottom
- 48” x 9” piece for bottom section of bag
- 2 – 3” x 3-1/4” pieces for shoulder strap end covers
- 3” x 3” piece for swivel hook tab
- 2-1/4” x 3” piece for cord lock
- Batting – 16” circle
- Interfacing – 48” x 2”, can be pieced
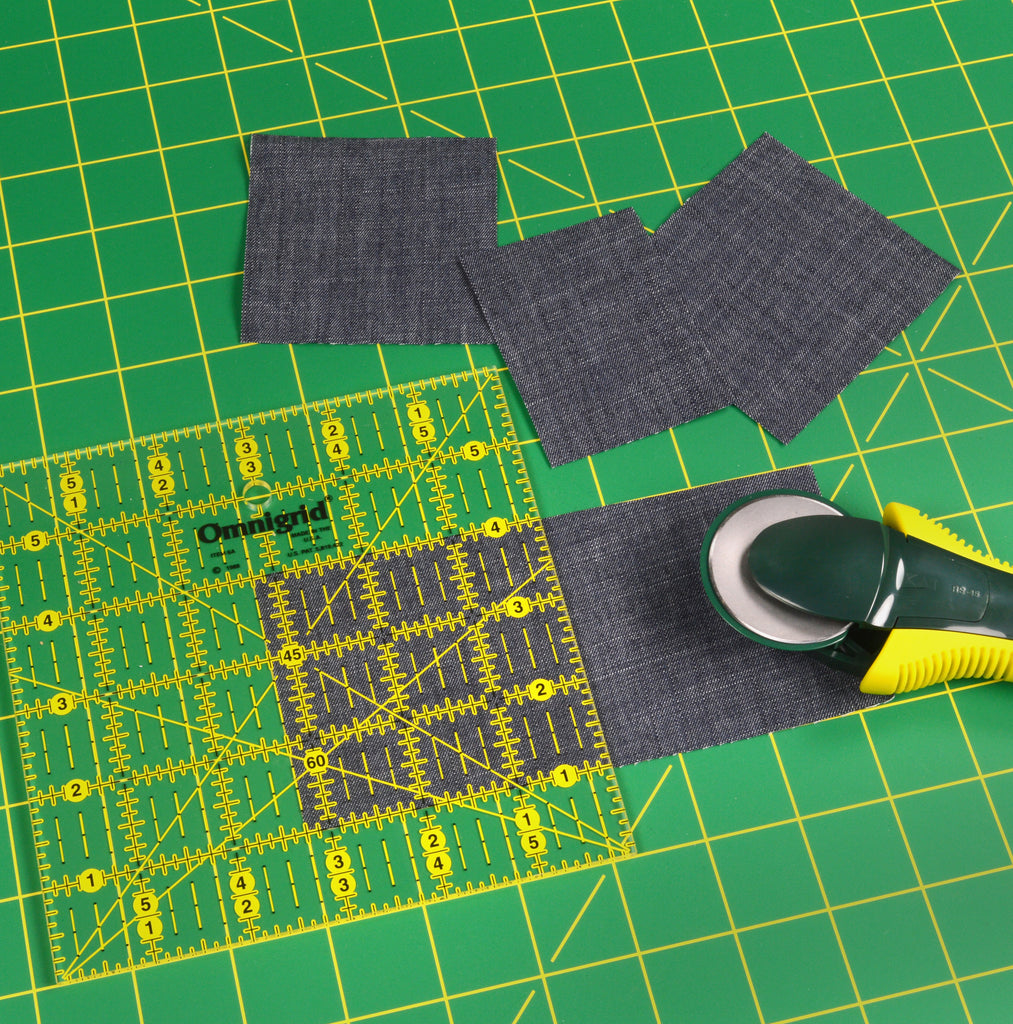
- Tip: Use Omnigrid ruler for accurate small pieces

2. Pin and stitch top stripe to solid bottom along 48” side. Use a ½” seam. We used a serger to stitch our ½” seams. Press seam towards solid bottom. Topstitch on solid bottom about ¼” from seam.

3. Print a large monogram letter with computer. Remember to print as a mirror image. Using paper-backed fusible web and solid denim make a monogram letter following package instructions.
Tip: Use computer for large monogram letter.

4. Fold bag in half widthwise, wrong sides together, and lay on work surface with raw edges to the right. Cut out letter, remove backing and center on striped top of folded bag about 2” up from seam. Fuse to bag.

5. Apply stabilizer to wrong side of bag directly behind letter. With wide satin stitch, stitch around letter. Tear away stabilizer from wrong side of bag.

6. Fuse pieced interfacing strips to wrong side at top edge of bag. With ½” seam, serger (or stitch) side seam, right sides together. Press seam to one side.

7. Serge top edge to finish. Fold top edge down 2” and press.

8. Optional inside swivel hook: Fold swivel hook tab in half with right sides together. Stitch with 1/2" seam. Turn right side out and press, centering seam. Top stitch along both edges. Loop tab through swivel hook and align raw ends. Stitch across tab near swivel hook. On inside of bag, center tab over side seam and 3-1/2” from top edge; pin or baste in place. Fold top of bag down and topstitch 1-3/4” from top edge.

9. For grommet placement, measure 5-7/8” from seam and 1” down from top. Mark and continue to move along top edge to mark grommet positions every 5-7/8”. Apply grommets through all layers, following package instructions.

10. Sandwich batting circle between denim circles with wrong sides together. Baste layers together. Divide circle and lower edge of bag into quarters and mark with pins.


What a great way to tote laundry to and from the dorm (or just to the laundry room)!


