Kitchen Towels with Snaps Project

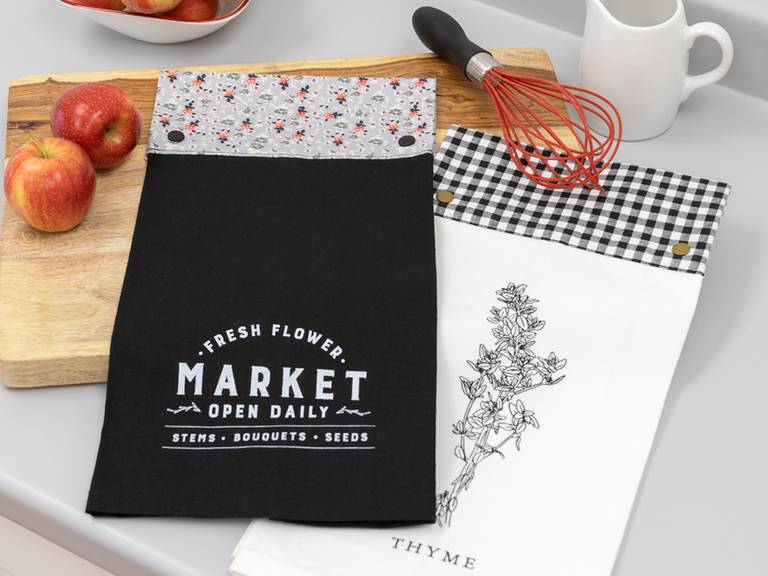
Projects that are functional as well as good looking are always tops on our list. So, when we came up with the idea to add a couple of Dritz plastic snaps to ready-made kitchen towels, we just had to share. Better yet, we’re giving you two options when it comes to installing the snaps. You can sew a coordinating fabric topper to the towel first or go the no-sew route and simply apply a couple of snaps directly to your towel. Choices!
Supply List
- Kitchen towel
- ¼ - 3/8 YD Coordinating Fabric
- Lightweight Interfacing
- Dritz Plastic Snaps
- Dritz Plastic Snap Pliers
- Dritz Mark-B-Gone® Marking Pen
- Dritz Ezy-Hem® Gauge
- Dritz Point Turner
- Dritz Tape Measure
- Omnigrid 45mm Rotary Cutter
- Omnigrid 18” x 24” Cutting Mat
- Omnigrid 6” x 24” Ruler
- Sewing Machine and Thread
- Iron and Pressing Surface

Step 1: Open towel and measure width of towel. Divide that measurement by 4. Place towel front side down on work surface, fold each side in the depth of the divided measurement towards the middle. Both edges of the towel will meet in the middle. Press lightly, if desired.

Step 2: Fold towel in half lengthwise, so bottom edges meet, and edges are inside the fold. Baste at ¼” across the top folded edge. Tip: if bottom edges are not completely even, fold so the front of the towel is slightly longer than the back.

Step 3: Measure basted edge of towel. Add 1-1/4” to that measurement for the cut width of your fabric. Using ruler, rotary cutter, and mat, cut a piece of fabric and interfacing 17” x cut width for fabric topper. Fuse interfacing to back of fabric piece. Press one of the short sides up ½” with Ezy-Hem gauge.

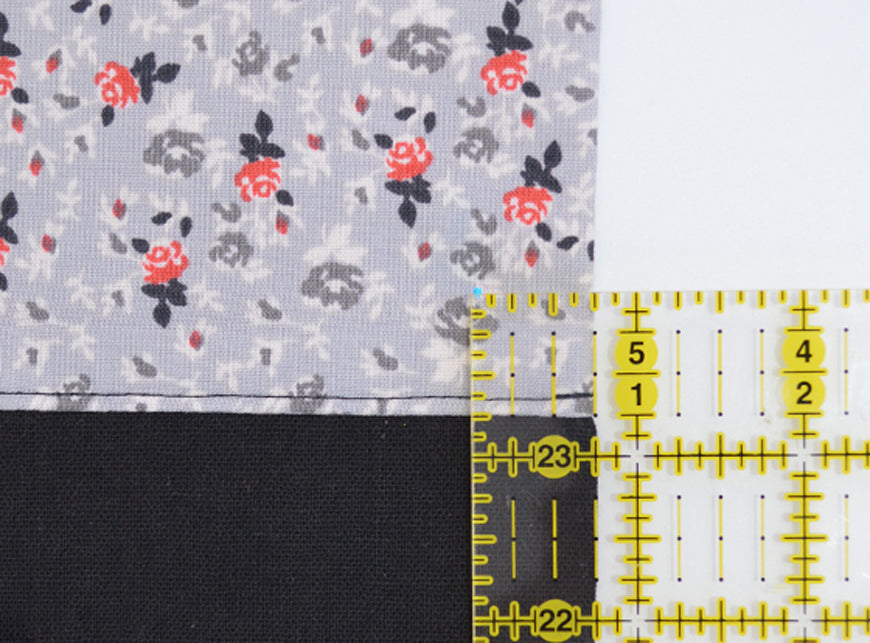
Step 4: Starting 5/8” in from corners, line up basted edge of towel with raw edge of other short side; front of towel is facing right side of fabric topper and centered. Stitch together with ½” seam. Press seam toward fabric topper.

Step 5: Fold fabric topper in half, right sides together, so pressed hem and stitching line up. Pin sides. Stitch each side with ½” seam. Trim and grade seams and corners.

Step 6: Turn fabric topper right side out. Use point turner to push out corners. Press edges. Pin opening so pressed hem lines up with stitching line. Edgestitch to secure. (Tip: Use Stitch Witchery® to close opening before stitching. No pins are required!)

Step 7: On front of fabric topper, mark positions for snaps about 3/4” up and 3/4” in from edge.

Step 8: Fold fabric topper to back, lining up lower edges. Use the awl that comes in the pliers package to make holes through both layers at marks on each side.

Step 9: Install snaps in holes following package instructions.

Hang these beauties up and say bye-bye to towels that fall on the floor or end up in a crumpled pile on the counter. They’re super cute!

No-sew Snap-Top Kitchen Towels
If you don’t want to do any sewing at all, this is a great option. This project is super easy – it basically requires the installation of a couple of snaps, but it accomplishes the same thing as the fabric-topped towels (keeping your kitchen towels in place).

Supply List
- Kitchen towel
- Dritz Plastic Snaps
- Dritz Plastic Snap Pliers
- Omnigrid 6” x 24” Ruler
- Dritz Mark-B-Gone® Marking Pen
Step 1: Place towel over oven handle or towel bar and mark desired position of snap on one side of the towel. Be sure to mark front and back of towel. Use ruler to mark position of snaps on other side of towel. Be sure snaps are parallel to each other and the same distance apart on the edge of the towel.

Step 2: Apply snaps at marks with pliers following package instructions.

You get the same result as the fabric topped version … easy to hang and always at-hand!

An easy update to kitchen towels or what? Regardless of which option you choose, you’re adding some real function in the kitchen (no more stray towels!). And the choices you have with fabrics and snap colors really gives you the opportunity to add some personal flair, too.


