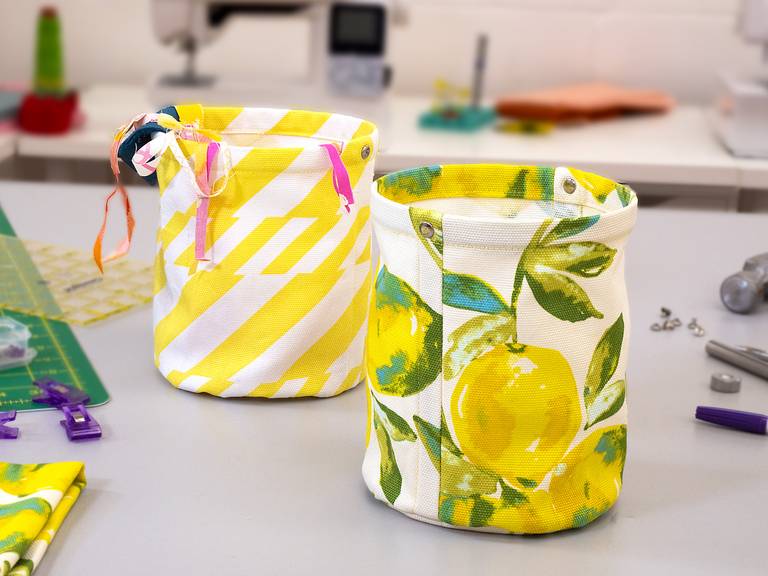
Mini Tabletop Scrap Bin Project

Life can be messy! And you can never have enough waste bins to keep life’s messes contained. With your favorite fabric and some boning, you can make this fun mini tabletop scrap bin to keep your sewing, quilting, and crafting work area clean and cute!
Notes:
- Finished size: about 6 ½” x 5”
- RST = Right sides together
-
WST = Wrong sides together
Supplies:

- 1/2 yd of canvas fabric
- Omnigrid Ruler
- Omnigrid Rotary Cutter
- Omnigrid Cutting Mat
- Bin Bottom Pattern
- Dritz Disappearing Ink Marking Pen
- Dritz Easy Grasp® Pins
- Dritz Ezy-Hem® Gauge
- Dritz Sewing Gauge
- Dritz Flexicurve™ Polyester Boning - 7/8 yard
- Dritz Fabric Clips
- Omnigrid Stainless Steel Fabric Scissors
- Thread, and basic sewing tools
- Optional:
Instructional Steps:

1. From canvas fabric, cut 2 - 8” x 9-7/8” pieces for bin sides. Cut 2 pieces using bin bottom pattern.
 2. On 1 bottom piece, mark all dots. Draw a line connecting opposite dots to form cross hatch stitching lines. Align second bottom piece with marked bottom, WST. Pin and stitch along marked lines.
 3. With a 1” seam and RST, stitch both sides of bin pieces together along short sides. Press seams open. TIP: Use a sleeve board to avoid pressing creases in bin. Trim right seam allowance on each seam to ¼”.
 4. Press left seam allowance under ¼” to right side. Press the folded seam allowance over to cover trimmed side.
 5. Stitch close to fold. This will create a channel for boning. Turn bin right side out but stitch channel from the inside. It will be easier to stitch on the inside of the tube.

6. Turn bin wrong side out. Fold top edge under 1/2” and press. Then fold top edge under 5/8” and press.

7. Divide bin into quarters and mark with pins. With RST, align bottom stitched lines with bin pins. Continue to pin bottom to bin along edge. Stretch bin slightly to align with bottom edge. Stitch with a ¼” seam allowance.
 8. Finish edges of bin bottom with a zig-zag stitch. Turn bin right side out.
 9. Cut 2 – 6” pieces of boning for sides. Cut 1 – 16-1/2” piece of boning for top edge. To flatten side boning pieces. Place inside a press cloth or scrap piece of fabric curved side up. Press with steam and heat. Allow to cool before handling.
 10. Insert 6” piece of boning into each side channel. Push all the way to the bin bottom. It should be below the folded edge.
 11. Starting at one side channel, position end of 16-1/2” piece of boning to complete overlap channel. Be sure boning is curling toward the inside of the bin. Fold top over boning and use fabric clips to hold in place.
 12. Continue to position boning under top folds and clip in place. Boning end should overlap side channel completely.
 13. Stitch down top edge about 5/8” from top edge. Stitch directly over boning in the side channels.
 14. Optional: With rivet tools, punch through fabric and all 3 layers of boning at first side channel. Install rivet tools through all layers. This will help keep the opening of trash bin round. If desire, a second rivet can be installed over the second channel.

Fun fabric and clean working area make the perfect combination!


