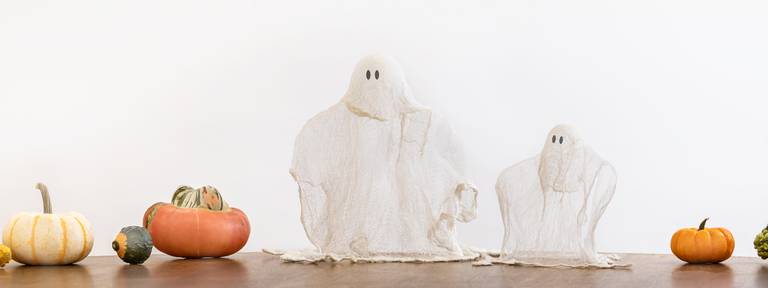
Spooky Cheesecloth Ghosts Project

Cheesecloth ghosts are a Halloween favorite. This is a fun craft project using basic supplies, with the key ingredients being cheesecloth and fabric stiffener. Cheesecloth ghosts look great on the mantel, as a centerpiece or placed at random with pumpkins and other Halloween décor. Use extra cheesecloth to make quick & easy mini ghost candy pops.

Supply List
- Dritz Cheesecloth
- Foam Cone, 9”
- Foam Ball, 2-1/2”
- Wire, two 15” pieces (or a coat hanger also works)
- Fabric stiffener
- Bowl
- Aluminum Foil
- Plastic Wrap
- Trash bag to cover work surface
- Hot glue & glue gun (optional)
- Plastic or rubber gloves (optional)
Note: protect work surface with a trash bag before getting started.

Step 1: Put some “arms” on your ghost using the wire as shown. You can either hot glue the wire into place, or simply insert the ends into the foam cone on each side.

Step 2: Wrap the arms with tin foil as shown. Attach the ball to the top of the cone using hot glue; a toothpick inserted into the cone and ball works fine, too.

Step 3: Drape a large piece of plastic wrap over the entire ghost form – this is so the cheesecloth is easy to drape and does not stick to the form. Cut a piece of cheesecloth that’s large enough to cover the ball head (approximately 6” square) and place it in a bowl; cover it with fabric stiffener and then squeeze it out. This piece will go over the head. Repeat this process with a 1-yard piece of cheesecloth to create the “body,” draping and gathering the cheesecloth as shown. Let dry.

Step 4: Gently remove the plastic-covered cone form from the bottom of the ghost.

Step 5: Use extra cheesecloth to make mini ghost pops to add to your Halloween décor. Simply cut cheesecloth into 6” squares and wrap candy pops; tie with a ribbon to secure.

Your spooky treats and décor are Halloween ready! If you want to add eyes to your ghosts, you can glue on pieces of felt or wiggly eyes; a marker also works.


